Showing posts with label storytime dsp. Show all posts

Tuesday, July 16, 2013

Non Winning Artisan Project #5


Lots and lots of pictures to share with you since my last card entry was a trifold one.  I even used a little piece of velcro to close it and made it more like a book or mini album that way.


The focus of the card was on the Storytime designer series paper.


I added a little chalkboard technique to the inside using the From My Heart stamp set with the idea that this could be a teacher thank you card.


Supplies:
Just Believe, From my Heart, Distressed Dots stamp sets
Storytime dsp
Old Olive, Riding Hood Red, Baja Breeze, Basic Black, So Saffron card stock
Riding Hood Red, Old Olive classic ink
Craft White ink
Labels collection framelits
scallop punches
Decorative label punch
Window punch
Modern Label punch
Perfect Polka Dots folder
Woodgrain folder
post signature

Tuesday, May 21, 2013

More Teacher Gifts

 
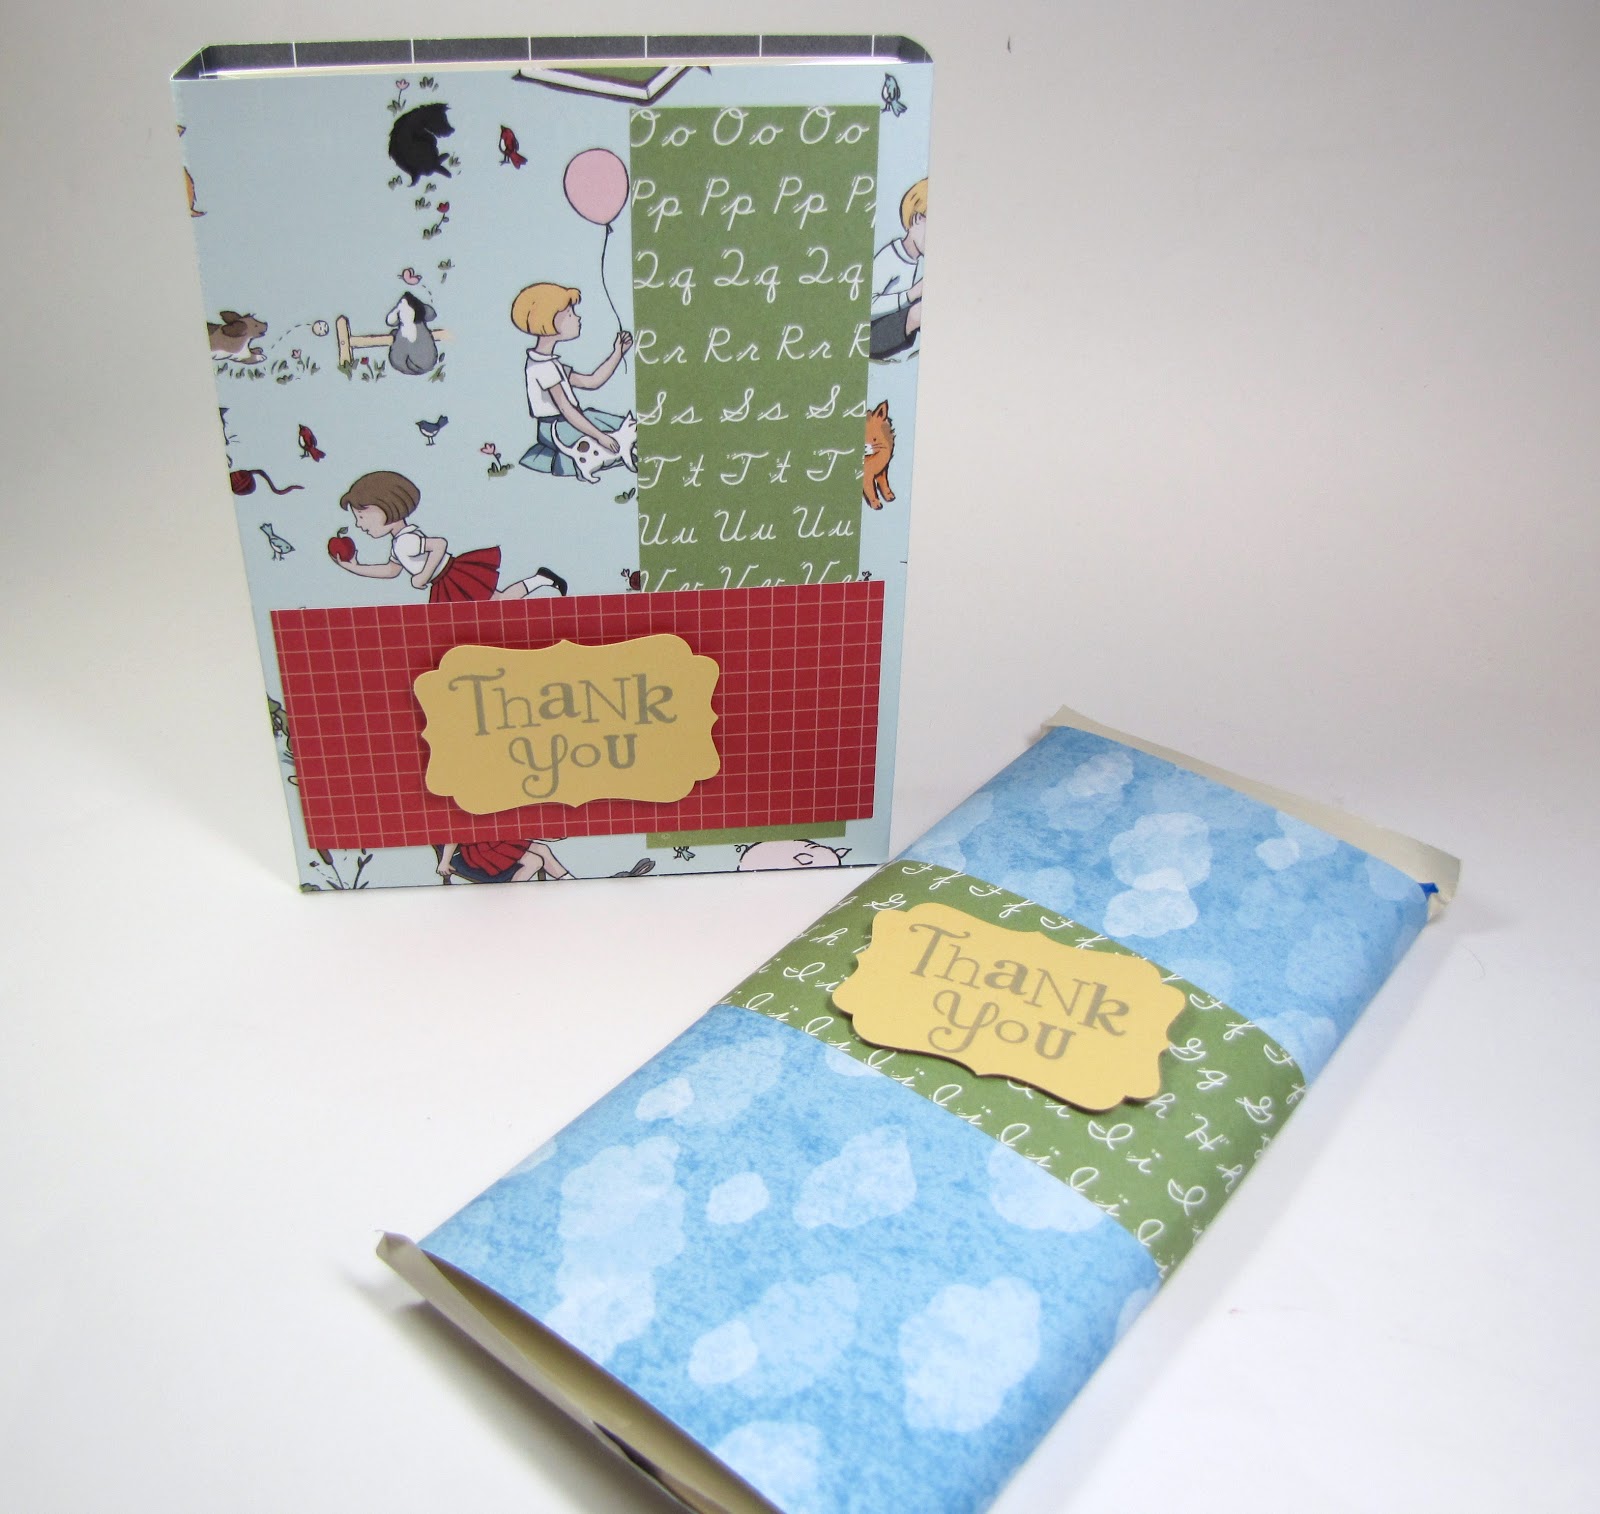
I made some more teacher gifts I thought I would share - they are really quick to put together too.
 
 
I took a large chocolate bar and wrapped it with some dsp and added a decorative label punch with a thank you on it.  Next, I made a little bag big enough to hold some cards using more designer series paper.

 
The Storytime designer series paper pack was great for these little projects!  The sentiment comes from Wacky Wishes and I used some Smoky Slate ink (sneak peek color).

 
On this one, I used a sentiment from Chalk Talk and the Baked Brown Sugar ink (also a sneak peek color) and the same designer series paper.

 
I added 5 cards and envelopes inside each bag to complete their gifts and used a mix of different occasions for those.


Saturday, April 27, 2013

Acceptance

 
Again, I am using some left over My Paper Pumpkin pieces, this time from the try it kit I have used some butterfly stickers.
 
 
Supplies:
Feel Goods
Riding Hood Red ink
Very Vanilla, Old Olive and So Saffron card stock
Storytime dsp
Artisan embellishment kit
basic pearls
Honeycomb folder

Sunday, September 9, 2012

First Day

 
Today I am sharing another digital page that I created this week, since I scrap in 12" x 12", I am going to make yesterday's page and today's into hybrid projects. 
 
 
The Storytime elements were used for this page, there are so many cute embellishments and stamps that go with the paper on this one it is hard to pick!

Thursday, September 6, 2012

September Stamp Club

These are the projects we had for Stamp Club this month.  The layout uses the Storytime designer series paper although I didn't use any of the images since I try to make the layouts fairly generic.


Another card using the Perfectly Preserved stamp set and Orchard harvest designer series paper.

 
And a baby card using the Patio Party designer series paper,  Doilies stamp set and Baby Prints stamp set. (sorry about the blur on this one!)


Tuesday, August 14, 2012

Storytime Fun

This week our Late Night Stampers challenge theme is Back to School.  I thought the Storytime designer series paper would be perfect for a project this week.


I had purchased a couple of these large wooden clothespins awhile ago and decided to cover one with this dsp and add a little ribbon and an image from the paper.


They are about 6 inches tall and would sit easily on a desk.


For the card, I again used lots of the dsp and added the same ribbon and a sentiment from Wacky Wishes. 


I chose Very Vanilla, Basic Gray, Basic Black, Real Red and Wild Wasabi for my colors and added a retired mini clothespin.


Come on over and join our challenge this week!  Our main group is here and the challenge blog entries are here.

Sunday, June 17, 2012

Father's Day

I found a printable with this poem on Pinterest and thought I would put together a quick little gift for Joe using the poem.  I typed it out and printed it using My Digital Studio and then added some card stock and Storytime designer series paper. 


Behind the Basic Black card stock, I cut down a piece of cardboard that comes with most of the specialty papers and adhered it to make it stronger, then used another piece of it to help it stand up.

It was really quick and easy to make - no stamping or embellishments, just card stock and designer paper.


Blog Archive

About Me

My photo
I am a mom, wife, farmer and Stampin' Up! demonstrator from North Dakota. I love to stamp and scrapbook and share ideas with others so I thought I would try out a blog. Hope you enjoy it!